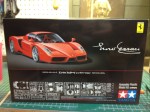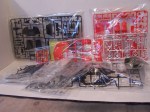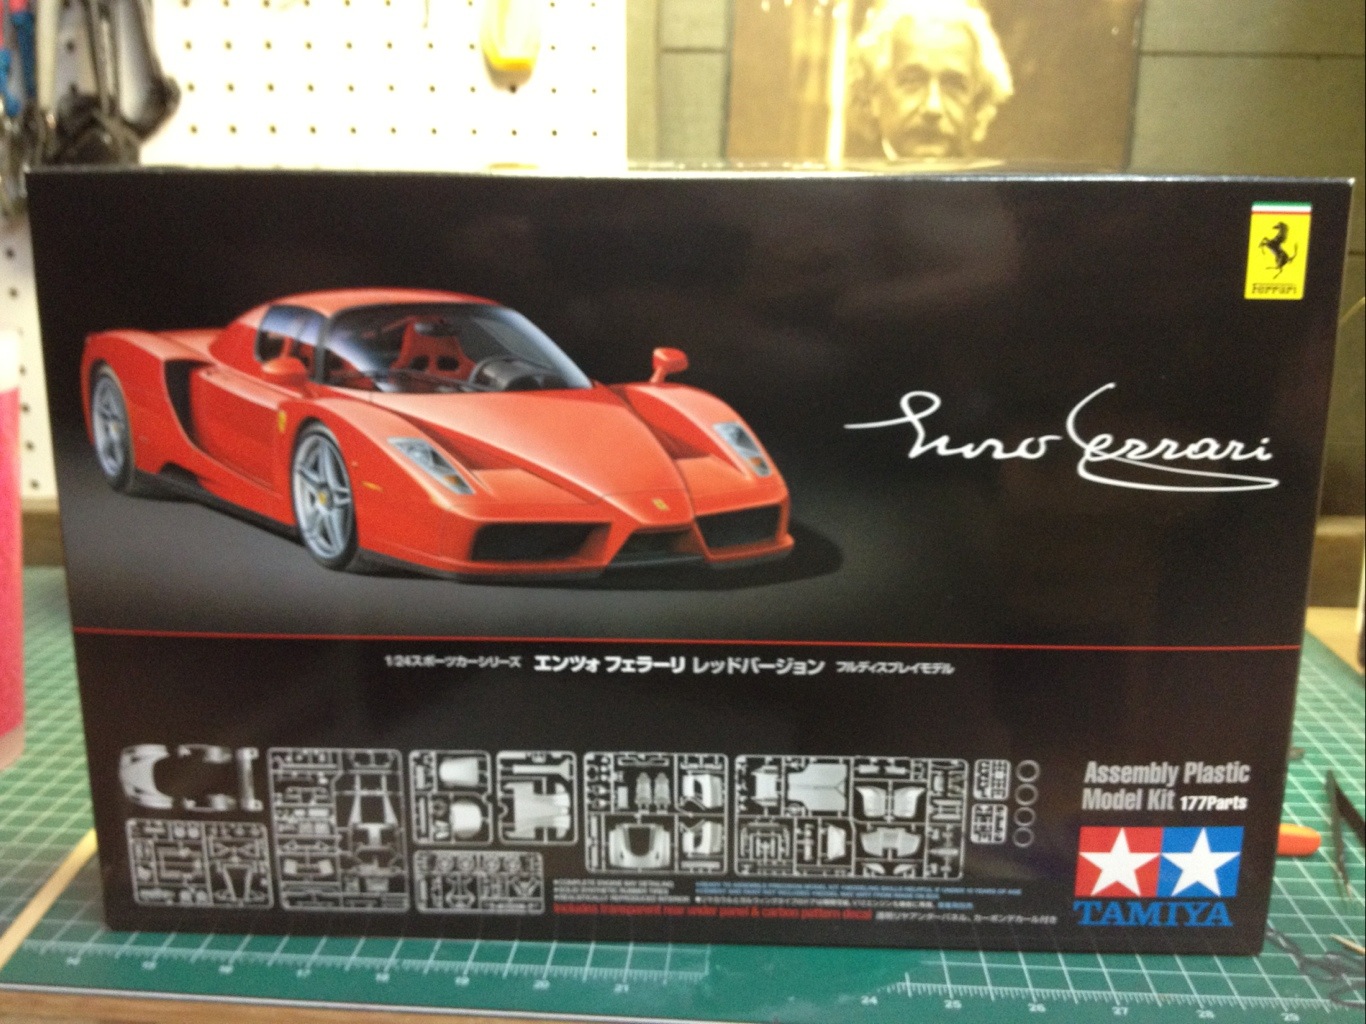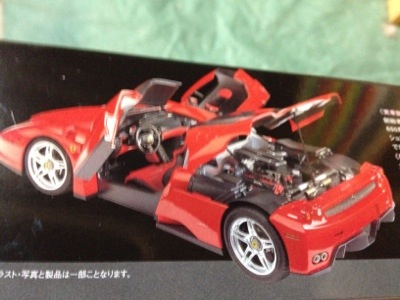

Ok, I know that a lot of you guys have built this model… I have chosen most specifically to build this Tamiya Enzo because I started to build the Revell Enzo at the same time (WIP forthcoming). Inspiration for this model goes like this: I want to see what new skills or tricks I can learn while building two clean and complicated models; basically pitting them against each other. I can tell you that right out of the box, the Tamiya is by far a cleaned mold (no, duh) and is more detailed to some degree. To already draw some clear differences that matter between the models, I’ll use the rotors as an example. While the Tamaiya has nicely detailed good scale rotors and brake caplipers, the vent hole details are not uniform in placement and are not molded as cleanly as the Revell. The plastic on the Tamiya seems to me is more difficult to drill cleanly in; that combined with the un-uniformed holes has made drilling out the vent holes in the rotors on the Tamiya near impossible and I abandoned the idea after just four holes. The Revell however has 64 nice clean holes drilled cleanly through all four rotors with a #77 drill bit (see in that WIP to come later)
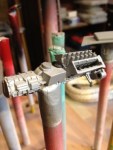
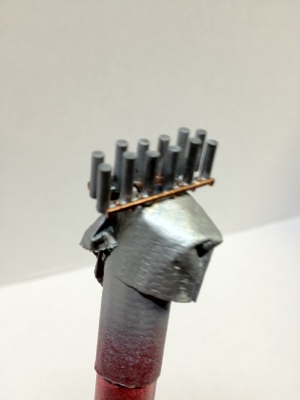
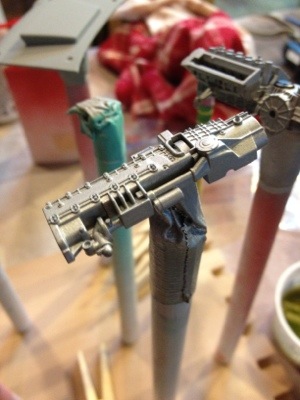
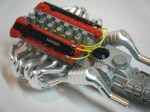
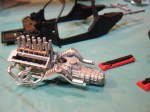
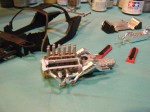
At this point I’ve got the engine completed for the most part on this Tamiya build: everything received Krylon primer and the block is painted with a base of Rustoleum Metallic Silver Lacquer, followed by a bronze/steel wash, details are Tamiya Metallic Gray, Titanium Gold, Titanium Silver, and MM Steel…. There is a silver coated Beadelon wire run for the starter and 24 gauge yellow wire removed from an old DVR cord for the four terminals on the backside of the valve covers. I’ve jumped into a lot of the rest already, so I’ll post WIP’s as components begin coming together. Next up will be the engine compartment and mounting; I have already layed and cut out aluminum duct tape throughout to simulate the heat shielding and will touch up sprue marks on exhaust and weather with a burnt iron wash then. Thanks for looking!