Search

The 1791 Thinkshop and 87 Ideas Workshop

Front door for the second half of my life using my time while disabled to study theology, dabble in my shop, and advocate for Liberty and Veterans who suffer with Traumatic Brain Injury (TBI), Severe Memory Impairment, Post Traumatic Stress Disorder (PTSD), Traumas, and those with Crohn's Disease and Seizure Disorder. Of course too I may muster the courage to begin my Scale Models again but fight tremor so bad that it maybe something best to just hang up and sell off. I've lost nearly every enjoyable skill and struggle with the idea of "doing it at all if I can't do so to the ability I once had". I'm most busy with doctors appointments and maintaining my 125 Year Old Home, but also pursue working in my shop and have unreasonable thoughts about once again building quality scale models. Basically its My Shop, Ranting, Retirement, and More… This blog was begun right before my health, career, and entire life's direction was wildly changed, so though the page is 6+ years old, it is bare boned.

Tag

enzo

Enzo Ferrari Builds Post 1.1

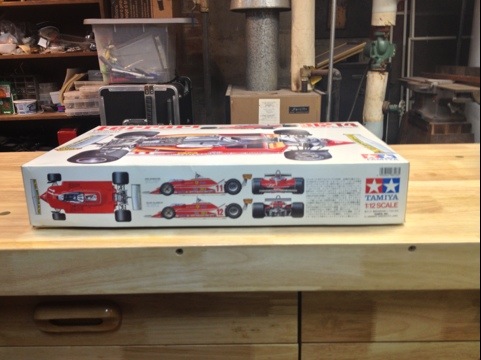
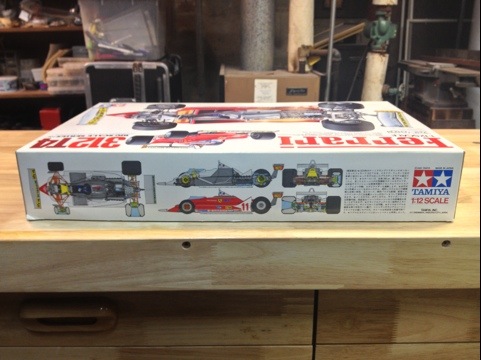
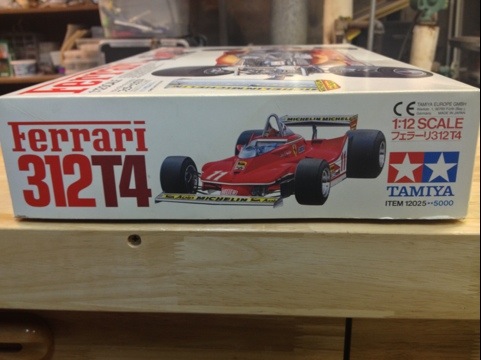
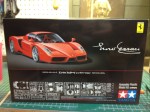
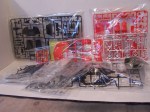
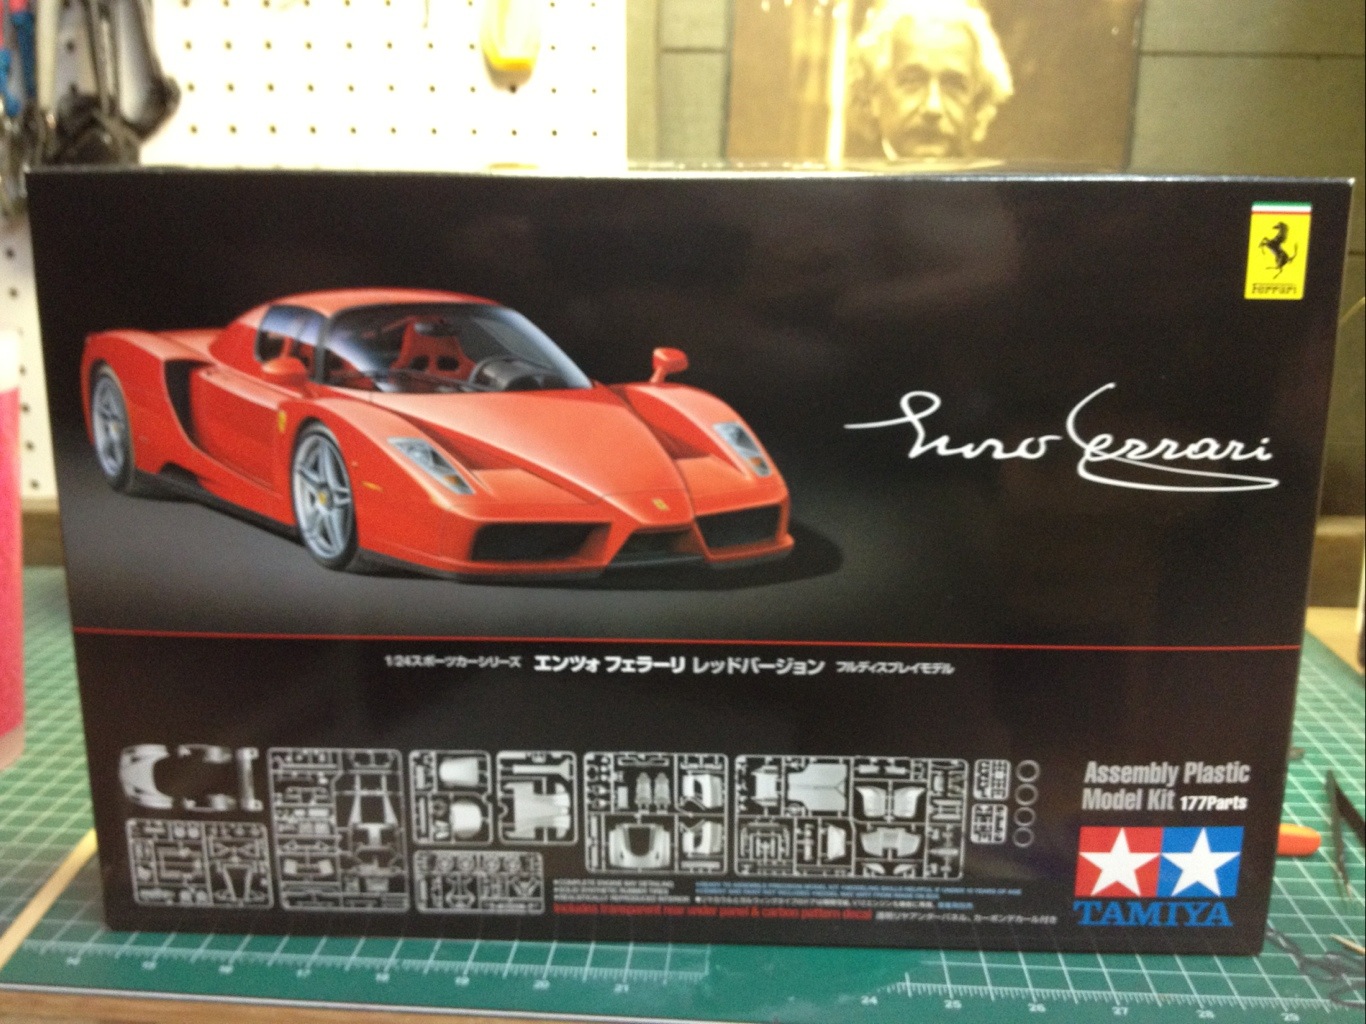
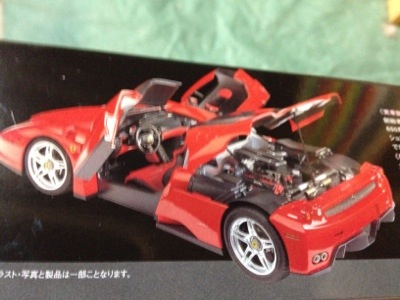
So, I have multiple iterations of the Enzo Ferrari.  I think 3 of the Tamiya Enzo 1/24 scale, 3 of the Revell Enzo 1/24 scale, 2 of the Tamiya FXX 1/24 scale, and 1 Tamiya Enzo 1/12 scale.  I need to get a new SD card for my Canon Rebel T1i, So photos are to follow.  I’ll be building a round of Tamiya La Ferrari’s and FXX K’s also and I may do some of that in concert with Enzo’s since there are so many similarities.  I’m most excited about the 1/12 Enzo though and that will be the capstone build before moving on I think.

It has been five and a half years since I’ve built/worked on any of my models.  As many of you know, my traumatic brain injury (TBI) and retirement from the Marine Corps turned my entire world inside out and I can’t say I’ve got it all together yet by any means.  There are many more medical, mental, and emotional issues that I’m struggling with and will do so for my entire life.  I have been in a hermit mindset for 5 years now and I’m doing what I can to break the cycle.  I’m not embarrassed or ashamed of what I live with.  I also know that I am not alone; that many of my Marine brothers are struggling and in pain each and every day.

At first, I had stopped building simply because I was simply learning how to live and make it day to day.  Then too, the TBI was ending my career and I was being pushed into retirement at a time for which we had not planned to.  So after 22+ years in the Marine Corps, I retired and at the same time, I am 100% disabled as well.  So after moving, I couldn’t bear to see my uniforms, my library, my models, my tools; basically everything I had enjoyed.  I have used the excuse of my tremors to explain my staying away from modeling, but the truth is the same as so many things: that I fear I can’t do things to the level or caliber I once did.  Long story short, I’ve been barely getting by all this time.  So I have decided to re-commit myself to scale models with the knowledge that I’ll build a few glue-bombs in the beginning.  So with that, I have dug it all out and have been getting back to doing research and finding the sources for the detail items I’ll need but don’t already have.   I’ll “treat each part as though it is its own model’ and figure out how to get around the tremor somehow.

S/F, -B

MCM Blog Post: Heat-shield Scratch-building, Tamiya Enzo Firewall

Blog Post I have over on MCM:

So I have tried using Aluminum Duct tape to cover the firewall on the Enzo….. Looked like trash because it has no texture. Have thought about about using cigarette foil paper like others have, but don’t smoke. My current plan is as follows. I have saved the foil top from a large tub of yogurt which has a small texture to it. I have masked off the firewall piece as best I can and then using a scalpel blade #11 trimmed the excess off to make a template. Then carefully peeled the template off thee piece, placed upon thee foil and again using the scalpel blade; cut out what should now be able to be attached a heat shield. Trying to figure out now what to attach with, but planning to use reposition-able brush on rubber cement. Will post pics of how it worked in my next update.

S/F, Shannon

20121225-082549.jpg

Time to kill my eyes with something else. Maybe I’ll sling some paint.

Ferrari 312T4 Autopsy

Attached is the box art of the 312T4… This is a highly detailed but broken edition. I will be breaking it down for parts and to build shop components to augment a Ferrari Garage Display. I will also get to practice my idea of using rare earth magnets to hold panels and some components in place. If successful I intend to incorporate into the new 1:12 kits an possibly into some 1:24/25 Enzo’s that I’m building (really unhappy with the fitment of rear engine bay door); maybe I’ll even open a hood on an Enzo or FXX.

Will take some componentry pictures late this week once I asses what damage is done. All the paint that I’ve seen must go and be redone. The body panels are not even painted, just clear coated on the outside. Many items appear to have been detail painted after being installed; I don’t want to build my T4 in the order of the instructions, so this autopsy will go along way for me to figure out how best with my skill set to build F1 cars.

Can be followed over in WIP pages-

Stay tuned

20121113-203340.jpg

20121113-203351.jpg

20121113-203402.jpg

20121113-203416.jpg

20121113-204101.jpg

Tamiya Enzo Ferrari (#2)

Ok, I know that a lot of you guys have built this model… I have chosen most specifically to build this Tamiya Enzo because I started to build the Revell Enzo at the same time (WIP forthcoming). Inspiration for this model goes like this: I want to see what new skills or tricks I can learn while building two clean and complicated models; basically pitting them against each other. I can tell you that right out of the box, the Tamiya is by far a cleaned mold (no, duh) and is more detailed to some degree. To already draw some clear differences that matter between the models, I’ll use the rotors as an example. While the Tamaiya has nicely detailed good scale rotors and brake caplipers, the vent hole details are not uniform in placement and are not molded as cleanly as the Revell. The plastic on the Tamiya seems to me is more difficult to drill cleanly in; that combined with the un-uniformed holes has made drilling out the vent holes in the rotors on the Tamiya near impossible and I abandoned the idea after just four holes. The Revell however has 64 nice clean holes drilled cleanly through all four rotors with a #77 drill bit (see in that WIP to come later)

At this point I’ve got the engine completed for the most part on this Tamiya build: everything received Krylon primer and the block is painted with a base of Rustoleum Metallic Silver Lacquer, followed by a bronze/steel wash, details are Tamiya Metallic Gray, Titanium Gold, Titanium Silver, and MM Steel…. There is a silver coated Beadelon wire run for the starter and 24 gauge yellow wire removed from an old DVR cord for the four terminals on the backside of the valve covers. I’ve jumped into a lot of the rest already, so I’ll post WIP’s as components begin coming together. Next up will be the engine compartment and mounting; I have already layed and cut out aluminum duct tape throughout to simulate the heat shielding and will touch up sprue marks on exhaust and weather with a burnt iron wash then.  Thanks for looking!


Tamiya Enzo Ferrari (#1)

Have been working on the engine compartment of the Tamiya Enzo Ferrari…. Coming along well. Clean build with only a few extras. Have drilled holes for wire from head covers and plumbing for water, fuel, and oil pumps. Still considering throwing a sensor and wire in a few places run back the the rear CPU also.

20120726-184603.jpg

20120726-184619.jpg

20120726-184630.jpg

20120726-184650.jpg

20120726-184711.jpg

20120726-184753.jpg

20120726-184818.jpg

20120726-184945.jpg

20120726-185004.jpg

Rotors for Enzo Ferrari

Been working on preparing all parts for paint….  Here are the efforts being made on the rotors.  (#74 Pin Drill Bit by hand with a pin vise)

Unwrapping Revell Enzo Ferrari Box (1:24 scale)

Today I opened the Revell Enzo Ferrari Box (1:24 scale) which was tooled in 2003 and originally released as a Revell of Germany kit.  While this is not the most detailed 1:24 out there (see Tamiya), this will wwork to challenge me and prepare me for a upcoming build.  A freind of mine has a 1:18 scale Ferrari he’s going to give me to build and I think the Revell will be good training for the 1:18th.  The only think I did today was unpackage, remove engine parts and begin test fitting those.  The engine is going to be tricky because the block alone is 5 parts that come together on trail edges instead of building upon one another….  Photos to follow and thanks for looking

https://beamansw.wordpress.com/odels/revell-enzo-ferrari/

Website Powered by WordPress.com.

Up ↑

%d bloggers like this: