Search

The 1791 Thinkshop and 87 Ideas Workshop

Front door for the second half of my life using my time while disabled to study theology, dabble in my shop, and advocate for Liberty and Veterans who suffer with Traumatic Brain Injury (TBI), Severe Memory Impairment, Post Traumatic Stress Disorder (PTSD), Traumas, and those with Crohn's Disease and Seizure Disorder. Of course too I may muster the courage to begin my Scale Models again but fight tremor so bad that it maybe something best to just hang up and sell off. I've lost nearly every enjoyable skill and struggle with the idea of "doing it at all if I can't do so to the ability I once had". I'm most busy with doctors appointments and maintaining my 125 Year Old Home, but also pursue working in my shop and have unreasonable thoughts about once again building quality scale models. Basically its My Shop, Ranting, Retirement, and More… This blog was begun right before my health, career, and entire life's direction was wildly changed, so though the page is 6+ years old, it is bare boned.

Tag

revell

Ferrari 312T4 Autopsy

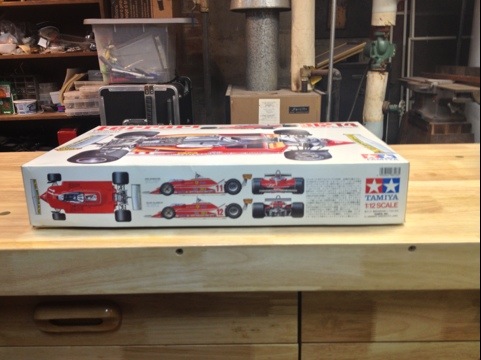
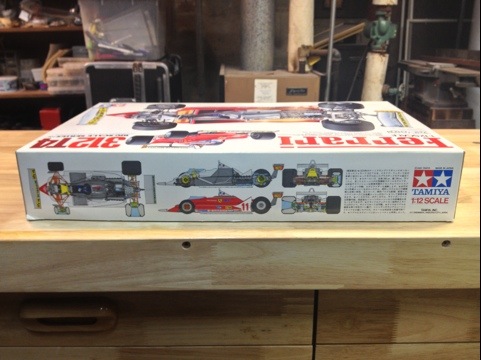
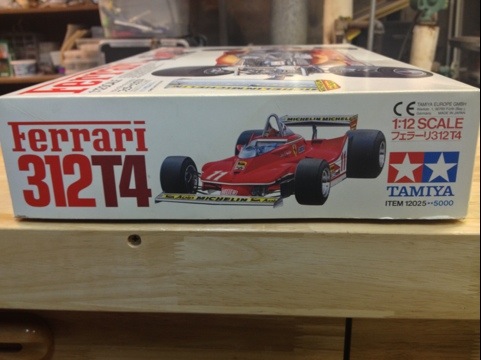
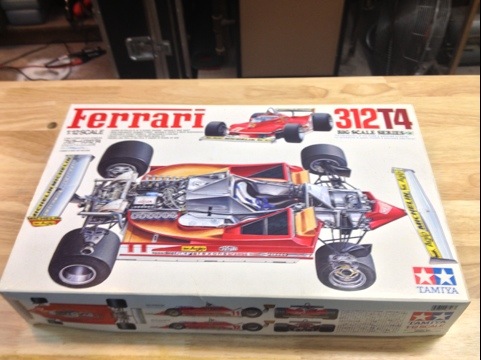
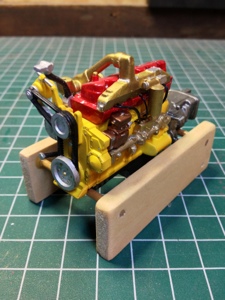
Attached is the box art of the 312T4… This is a highly detailed but broken edition. I will be breaking it down for parts and to build shop components to augment a Ferrari Garage Display. I will also get to practice my idea of using rare earth magnets to hold panels and some components in place. If successful I intend to incorporate into the new 1:12 kits an possibly into some 1:24/25 Enzo’s that I’m building (really unhappy with the fitment of rear engine bay door); maybe I’ll even open a hood on an Enzo or FXX.

Will take some componentry pictures late this week once I asses what damage is done. All the paint that I’ve seen must go and be redone. The body panels are not even painted, just clear coated on the outside. Many items appear to have been detail painted after being installed; I don’t want to build my T4 in the order of the instructions, so this autopsy will go along way for me to figure out how best with my skill set to build F1 cars.

Can be followed over in WIP pages-

Stay tuned

20121113-203340.jpg

20121113-203351.jpg

20121113-203402.jpg

20121113-203416.jpg

20121113-204101.jpg

New Page Published Under ‘Scale Models’

I have published/updated my Kit List under the scale model hirearchy….. You can reach it here https://beamansw.wordpress.com/scale-models/kit-list/

Thanks for looking

Working with DupliColor Paint Shop Finish System Paints and Scale Models (1)

So I have picked up quarts of the following for the local automotive store: Duplicolor Paint Shop Series ; Grey Primer (BSP100), Clear Coat (BSP300), Performance Red (BSP203), Championship White (BSP201), Midnight Blue (BSP210). Read what they have to say about their own product line here: Duplicolor Paint Shop Finish System

I have decided to use a Revell ’57 Chevy as the guinea pig for this since I’ll have the opportunity to have two distinct colors between sides and the rear quarter panel/trunk. I will use Bare Metal Foil (BMF) on the bright work to break it up. The plan right now on the first pass is that I’ll shoot the Grey Primer in light mist coats at ~12 PSI thinned just a bit more with straight acetone from my Iwata HP-C Plus and will control environment with 72 F @ <; 40% Humidity.

I had little to no issues with crazing as I thought I might and the primer built up nicely. The system being premixed and the fact that these lacquers dry so fast, make for no wait time. I'm still not planning on jumping from color to color like a jack rabbit, but if the primer is any indication of how the rest of the system will work for me, then I've got high hopes.

Granted, a quart can do a lot of cars, but even if I only use the primer in the future…. that will be used up easily. More to come with pics too..

Finishing the Paint on the Peterbilt 359 Conventional

So tonight I’m going to put the last layer of the ‘bright idea Kyrlon on the cab, hood and fenders, Since it’s enamel, I plan on wetsanding and laying a clear down net week some time. The powerplant is done anf the frame is already semi gloss black…. still have to buld the springs all the way around to drop it a bit. Along with the Enxo’s this weekend, I finishe the entrior of the cab, Thanks for looking,

V/R, Shannon

20120928-182558.jpg

Rotors for Enzo Ferrari

Been working on preparing all parts for paint….  Here are the efforts being made on the rotors.  (#74 Pin Drill Bit by hand with a pin vise)

Unwrapping Revell Enzo Ferrari Box (1:24 scale)

Today I opened the Revell Enzo Ferrari Box (1:24 scale) which was tooled in 2003 and originally released as a Revell of Germany kit.  While this is not the most detailed 1:24 out there (see Tamiya), this will wwork to challenge me and prepare me for a upcoming build.  A freind of mine has a 1:18 scale Ferrari he’s going to give me to build and I think the Revell will be good training for the 1:18th.  The only think I did today was unpackage, remove engine parts and begin test fitting those.  The engine is going to be tricky because the block alone is 5 parts that come together on trail edges instead of building upon one another….  Photos to follow and thanks for looking

https://beamansw.wordpress.com/odels/revell-enzo-ferrari/

Website Powered by WordPress.com.

Up ↑

%d bloggers like this: